No two builds are the same — and neither are the lights that power them. Baja Designs developed the Lighting Zones framework to take the guesswork out of off-road lighting, matching the right light, with the right lens pattern, to the right location on your rig. Because it’s not just about brightness — it’s about precision. A strategically designed lighting setup improves visibility, safety, and drivability in ways that raw lumens alone never can.
Understanding correct light placement, power output, and beam pattern for each zone is what separates a great setup from a dangerous one. Whether you’re crawling technical trails at night, navigating high-speed desert runs, or building out a serious overland rig, the science behind your lighting matters. After all, lighting is horsepower at night™ — and Baja Designs has the right light for every zone.
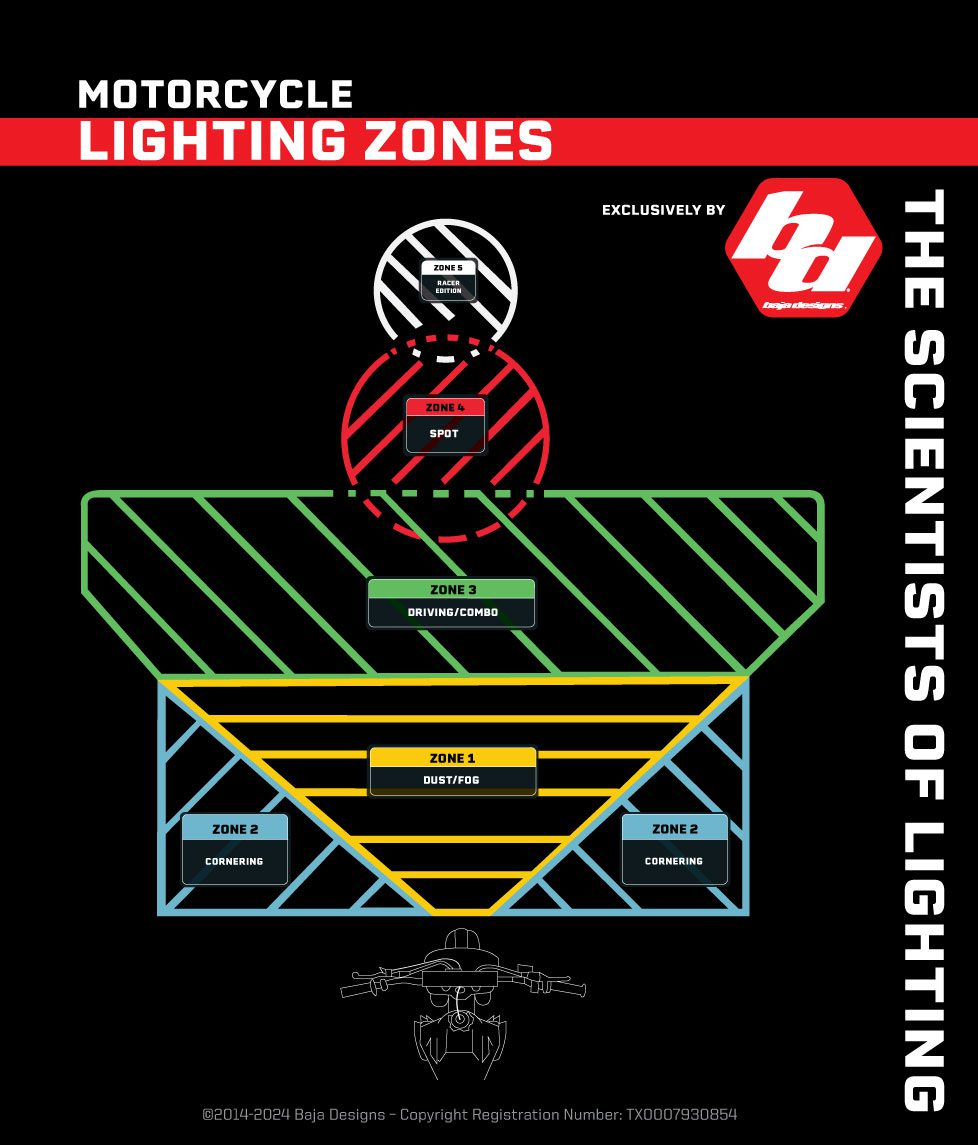
illuminates the area directly in front of the vehicle, for use during rainy, snowy, or dusty conditions. Learn More…
Applications: Automotive, Motorcycle, UTV
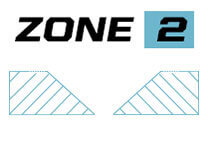
Cornering
Provides cornering and peripheral light, which is necessary to drive comfortably at speed. Learn More…
Applications: Automotive, Motorcycle, UTV
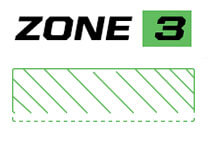
Driving Combo
Your primary driving light and most important zone to start with when building a balanced lighting package. Learn More…
Applications: Automotive, Motorcycle, UTV
Spot
This zone is your first level of long-distance lighting. Lights intended for this zone will give you the distance needed to travel at speeds and see safely down the road or trail.Learn More…
Applications: Automotive, Motorcycle, UTV
Racer Edition Spot
This zone is implemented when approaching triple-digit speeds, or in instances when distance penetration becomes necessary. Learn More…
Applications: Automotive, Motorcycle, UTV
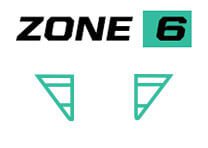
Rock Light
This zone illuminates the wheel wells, undercarriage, or any other part of the vehicle that can benefit from great visibility while moving through tight spaces and jagged terrain. Learn More…
Applications: Automotive, UTV
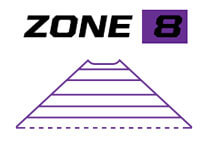
Cargo
This zone is important for drivers that need quick access to tools and cargo, in and immediately around the vehicle. Learn More…
Applications: Automotive, UTV
Backup/Reverse
This zone is crucial to keeping the backside of your vehicle safe. Whether reversing on the trail or leading a pack through the dust, you will want the correct lighting solution. Learn More…
Applications: Automotive, UTV
Lens Pattern
Customizing you light pattern has never been easier with the assortment of lens patterns and colors for Baja Designs light pods and light bars. There are three lens colors and five lens patterns available to dial in your perfect lighting package. We even offer a 90-degree orientation lens for the Squadron 2.0 to correct the beam pattern (90-degree lenses offered in driving combo and wide cornering only)
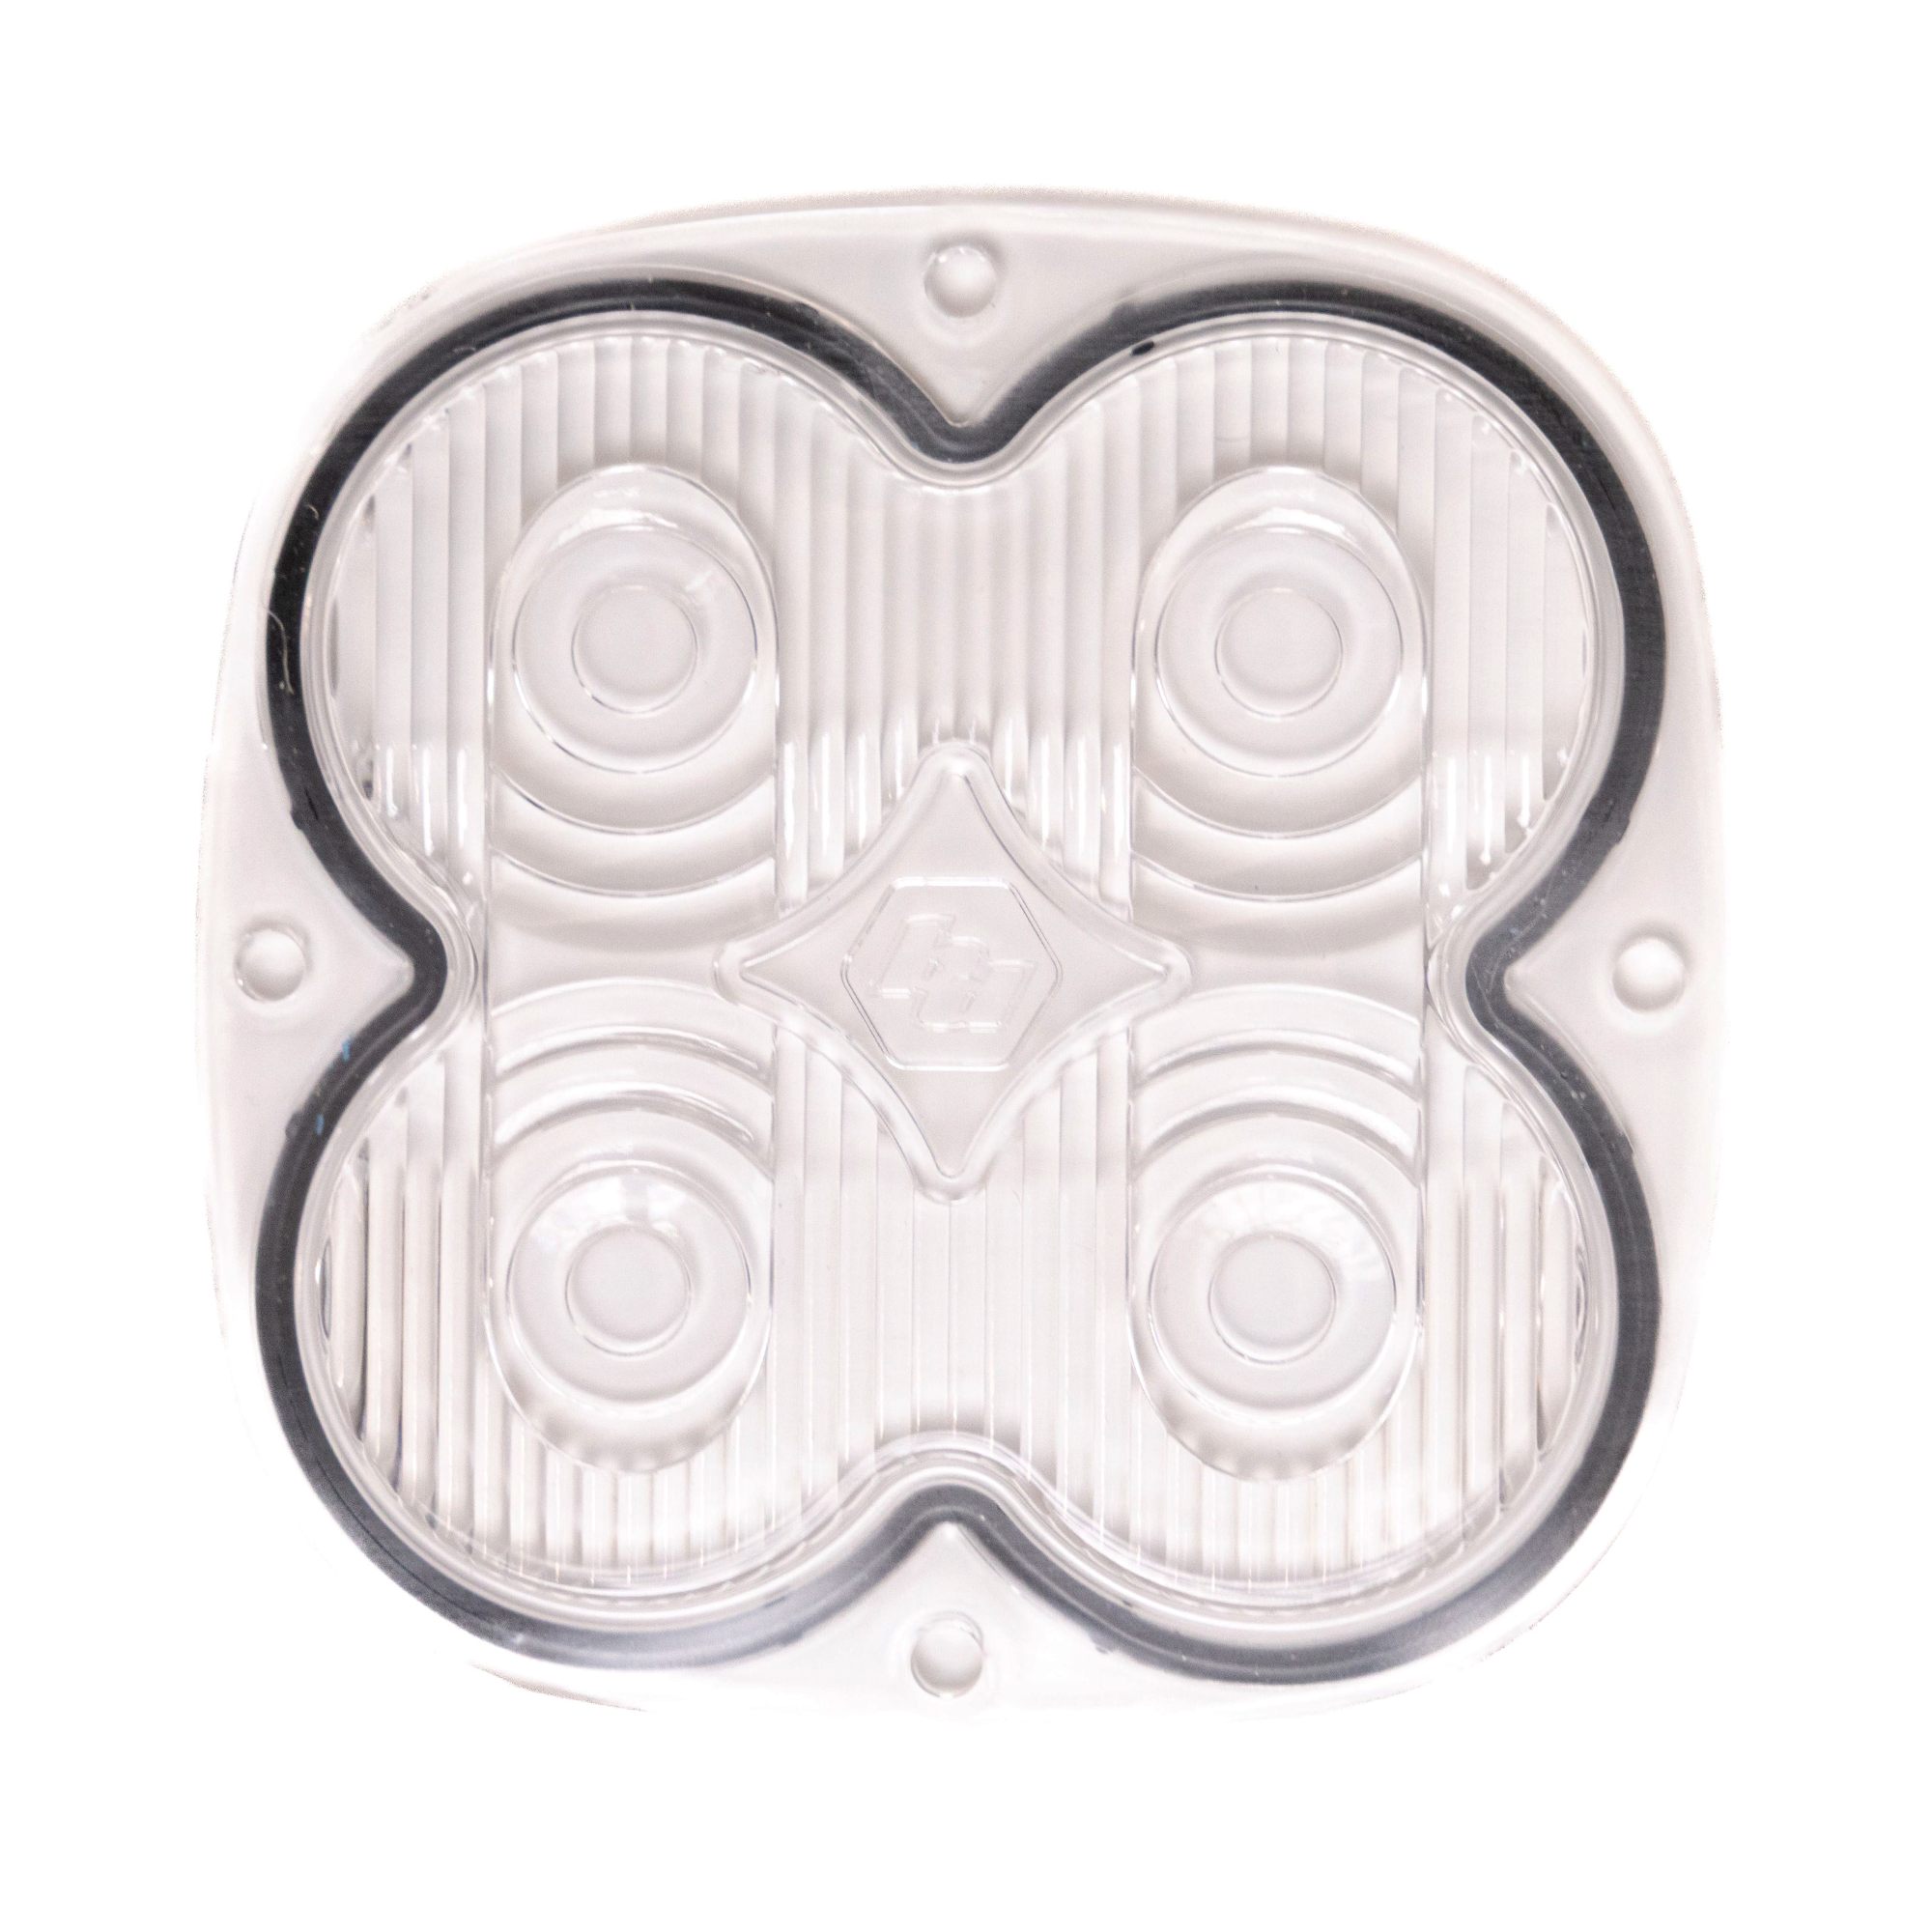
Driving Combo: Maximum trail coverage in a single light. The Driving/Combo pattern is equipped with both Driving (42-degree) and spot (9-degree) optics to provide you with a smooth blend of light for both near field applications and distance.
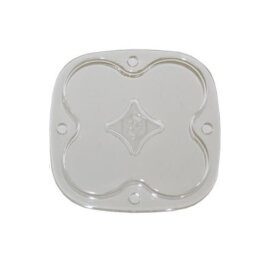
Spot: A longer and narrower 9-degree beam focus for illumination further down the trail or road. The Spot pattern is designed to be used in conjunction with additional Wide Driving and/or Driving/Combo beam lights.
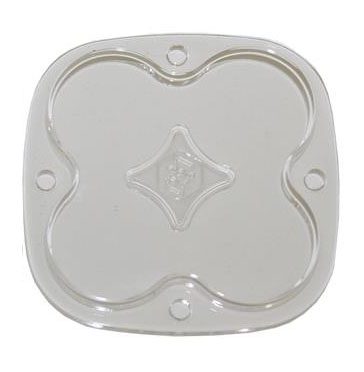
Wide Cornering: The Wide Driving pattern offers a 42-degree flattened horizontal beam for the ultimate in comfort lighting. This pattern is specifically for cornering, dust, snow, rain, and/or fog conditions.
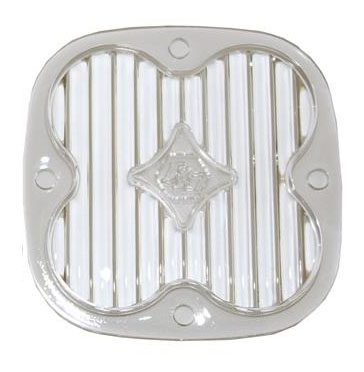
Work/Scene: Excellent work light or “scene light” with an extremely smooth 120° circle that projects about 40ft. This pattern is not suitable for driving.
Trail: Moto-specific lens designed to aid in both vertical and horizontal light spread. Provides more near and mid-field visibility in tight slower technical terrain. (XL40/XL80 and S1 only)
Lens Color
Clear: The original performance lens. Our clear lens combined with our 5000k LEDs provides light most similar to daylight, reducing driver fatigue and increasing terrain recognition.
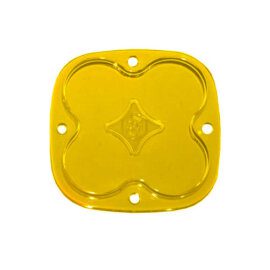
Baja Amber: This performance-driven lens is designed for off-road driving in challenging conditions like dust, rain, snow, or fog. The Baja Amber lens minimizes glare, enhancing visibility and significantly improving your driving experience.
Factory Amber: This replacement lens option is crafted to seamlessly match the OEM running lights found on vehicles today. Factory Amber provides a color temperature that is best utilized in low-visibility conditions to increase depth perception while minimizing glare.
Lighting Zone Charts
We use cookies on our website to give you the most relevant experience by remembering your preferences and repeat visits. By clicking “Accept”, you consent to the use of ALL the cookies.
This website uses cookies to improve your experience while you navigate through the website. Out of these, the cookies that are categorized as necessary are stored on your browser as they are essential for the working of basic functionalities of the website. We also use third-party cookies that help us analyze and understand how you use this website. These cookies will be stored in your browser only with your consent. You also have the option to opt-out of these cookies. But opting out of some of these cookies may affect your browsing experience.
Necessary cookies are absolutely essential for the website to function properly. This category only includes cookies that ensures basic functionalities and security features of the website. These cookies do not store any personal information.
Functional cookies help to perform certain functionalities like sharing the content of the website on social media platforms, collect feedbacks, and other third-party features.
Cookie
Duration
Description
_ce.cch
session
Description is currently not available.
_ce.clock_data
1 day
Description is currently not available.
_ce.clock_event
1 day
Description is currently not available.
_ce.irv
session
Description is currently not available.
_ce.s
1 year
Description is currently not available.
ajscookies
1 year
No description available.
ajstest
session
No description available.
cebsp_
session
Description is currently not available.
S
1 hour
Used by Yahoo to provide ads, content or analytics.
yt-player-bandwidth
never
The yt-player-bandwidth cookie is used to store the user's video player preferences and settings, particularly related to bandwidth and streaming quality on YouTube.
yt-player-headers-readable
never
The yt-player-headers-readable cookie is used by YouTube to store user preferences related to video playback and interface, enhancing the user's viewing experience.
yt-remote-cast-available
session
The yt-remote-cast-available cookie is used to store the user's preferences regarding whether casting is available on their YouTube video player.
yt-remote-cast-installed
session
The yt-remote-cast-installed cookie is used to store the user's video player preferences using embedded YouTube video.
yt-remote-connected-devices
never
YouTube sets this cookie to store the user's video preferences using embedded YouTube videos.
yt-remote-device-id
never
YouTube sets this cookie to store the user's video preferences using embedded YouTube videos.
yt-remote-fast-check-period
session
The yt-remote-fast-check-period cookie is used by YouTube to store the user's video player preferences for embedded YouTube videos.
yt-remote-session-app
session
The yt-remote-session-app cookie is used by YouTube to store user preferences and information about the interface of the embedded YouTube video player.
yt-remote-session-name
session
The yt-remote-session-name cookie is used by YouTube to store the user's video player preferences using embedded YouTube video.
ytidb::LAST_RESULT_ENTRY_KEY
never
The cookie ytidb::LAST_RESULT_ENTRY_KEY is used by YouTube to store the last search result entry that was clicked by the user. This information is used to improve the user experience by providing more relevant search results in the future.
Analytical cookies are used to understand how visitors interact with the website. These cookies help provide information on metrics the number of visitors, bounce rate, traffic source, etc.
Cookie
Duration
Description
__kla_id
1 year 1 month 4 days
Klaviyo sets this cookie to collect information on the visitor’s behavior. This information is used for internal analytics and to optimise the website. It also registers if the visitor has subscribed to a news letter.
__tld__
session
Description is currently not available.
_ce.gtld
session
Crazyegg sets this cookie to identify the top-level domain.
_fbp
3 months
Facebook sets this cookie to display advertisements when either on Facebook or on a digital platform powered by Facebook advertising after visiting the website.
_ga
1 year 1 month 4 days
Google Analytics sets this cookie to calculate visitor, session and campaign data and track site usage for the site's analytics report. The cookie stores information anonymously and assigns a randomly generated number to recognise unique visitors.
_ga_*
1 year 1 month 4 days
Google Analytics sets this cookie to store and count page views.
_gat_UA-*
1 minute
Google Analytics sets this cookie for user behaviour tracking.n
_gcl_au
3 months
Google Tag Manager sets the cookie to experiment advertisement efficiency of websites using their services.
_gid
1 day
Google Analytics sets this cookie to store information on how visitors use a website while also creating an analytics report of the website's performance. Some of the collected data includes the number of visitors, their source, and the pages they visit anonymously.
_hjSession_*
1 hour
Hotjar sets this cookie to ensure data from subsequent visits to the same site is attributed to the same user ID, which persists in the Hotjar User ID, which is unique to that site.
_hjSessionUser_*
1 year
Hotjar sets this cookie to ensure data from subsequent visits to the same site is attributed to the same user ID, which persists in the Hotjar User ID, which is unique to that site.
_hjTLDTest
session
To determine the most generic cookie path that has to be used instead of the page hostname, Hotjar sets the _hjTLDTest cookie to store different URL substring alternatives until it fails.
_sp_id.*
1 year 1 month 4 days
Snowplow sets this cookie to store user information that is created when a user first visits a site and is updated on subsequent visits.
_sp_ses.*
1 hour
Snowplow sets this cookie to store user information that is created when a user first visits a site and is updated on subsequent visits.
ai_session
1 hour
This is a unique anonymous session identifier cookie set by Microsoft Application Insights software to gather statistical usage and telemetry data for apps built on the Azure cloud platform.
ajs_anonymous_id
1 year
This cookie is set by Segment to count the number of people who visit a certain site by tracking if they have visited before.
ajs_group_id
1 year
This cookie is set by Segment to track visitor usage and events within the website.
ajs_user_id
1 year
This cookie is set by Segment to help track visitor usage, events, target marketing, and also measure application performance and stability.
cebs
session
Crazyegg sets this cookie to trace the current user session internally.
MicrosoftApplicationsTelemetryDeviceId
1 year
Microsoft sets this cookie to install a unique device ID that is used to track how users behave and interact with the Microsoft application on the device.
Advertisement cookies are used to provide visitors with relevant ads and marketing campaigns. These cookies track visitors across websites and collect information to provide customized ads.
Cookie
Duration
Description
COMPASS
1 hour
The COMPASS cookie is used by Yahoo to deliver targeted advertising based on user's online behavior.
fr
3 months
Facebook sets this cookie to show relevant advertisements by tracking user behaviour across the web, on sites with Facebook pixel or Facebook social plugin.
IDE
1 year 24 days 1 minute
Google DoubleClick IDE cookies store information about how the user uses the website to present them with relevant ads according to the user profile.
NID
6 months
Google sets the cookie for advertising purposes; to limit the number of times the user sees an ad, to unwanted mute ads, and to measure the effectiveness of ads.
pixel
1 year
This cookie is used to present the visitor with relevant content and advertisement.
test_cookie
16 minutes
doubleclick.net sets this cookie to determine if the user's browser supports cookies.
VISITOR_INFO1_LIVE
6 months
YouTube sets this cookie to measure bandwidth, determining whether the user gets the new or old player interface.
VISITOR_PRIVACY_METADATA
6 months
YouTube sets this cookie to store the user's cookie consent state for the current domain.
YSC
session
Youtube sets this cookie to track the views of embedded videos on Youtube pages.
yt.innertube::nextId
never
YouTube sets this cookie to register a unique ID to store data on what videos from YouTube the user has seen.
yt.innertube::requests
never
YouTube sets this cookie to register a unique ID to store data on what videos from YouTube the user has seen.


 Power Distribution System